Showing posts with label manis. Show all posts

Thursday, August 8, 2013

Easy Summer Flower Mani!

Ahhhh, summer! So many lazy days to fill by doing seasonal-themed manicures!! Flowers are my fave, and today's blog post will show how to do an easy, summery, Hawaiian-y flower design.

"Let's Talk Dirty in Hawaiian" by Those Darlins Feel free to listen to the mood music if it suits ya!

To start, you will need the following:

  • Base coat
  • Quick-dry top coat
  • Bright colour polish (I used Essie Mod Square)
  • White polish
  • Dotting tools
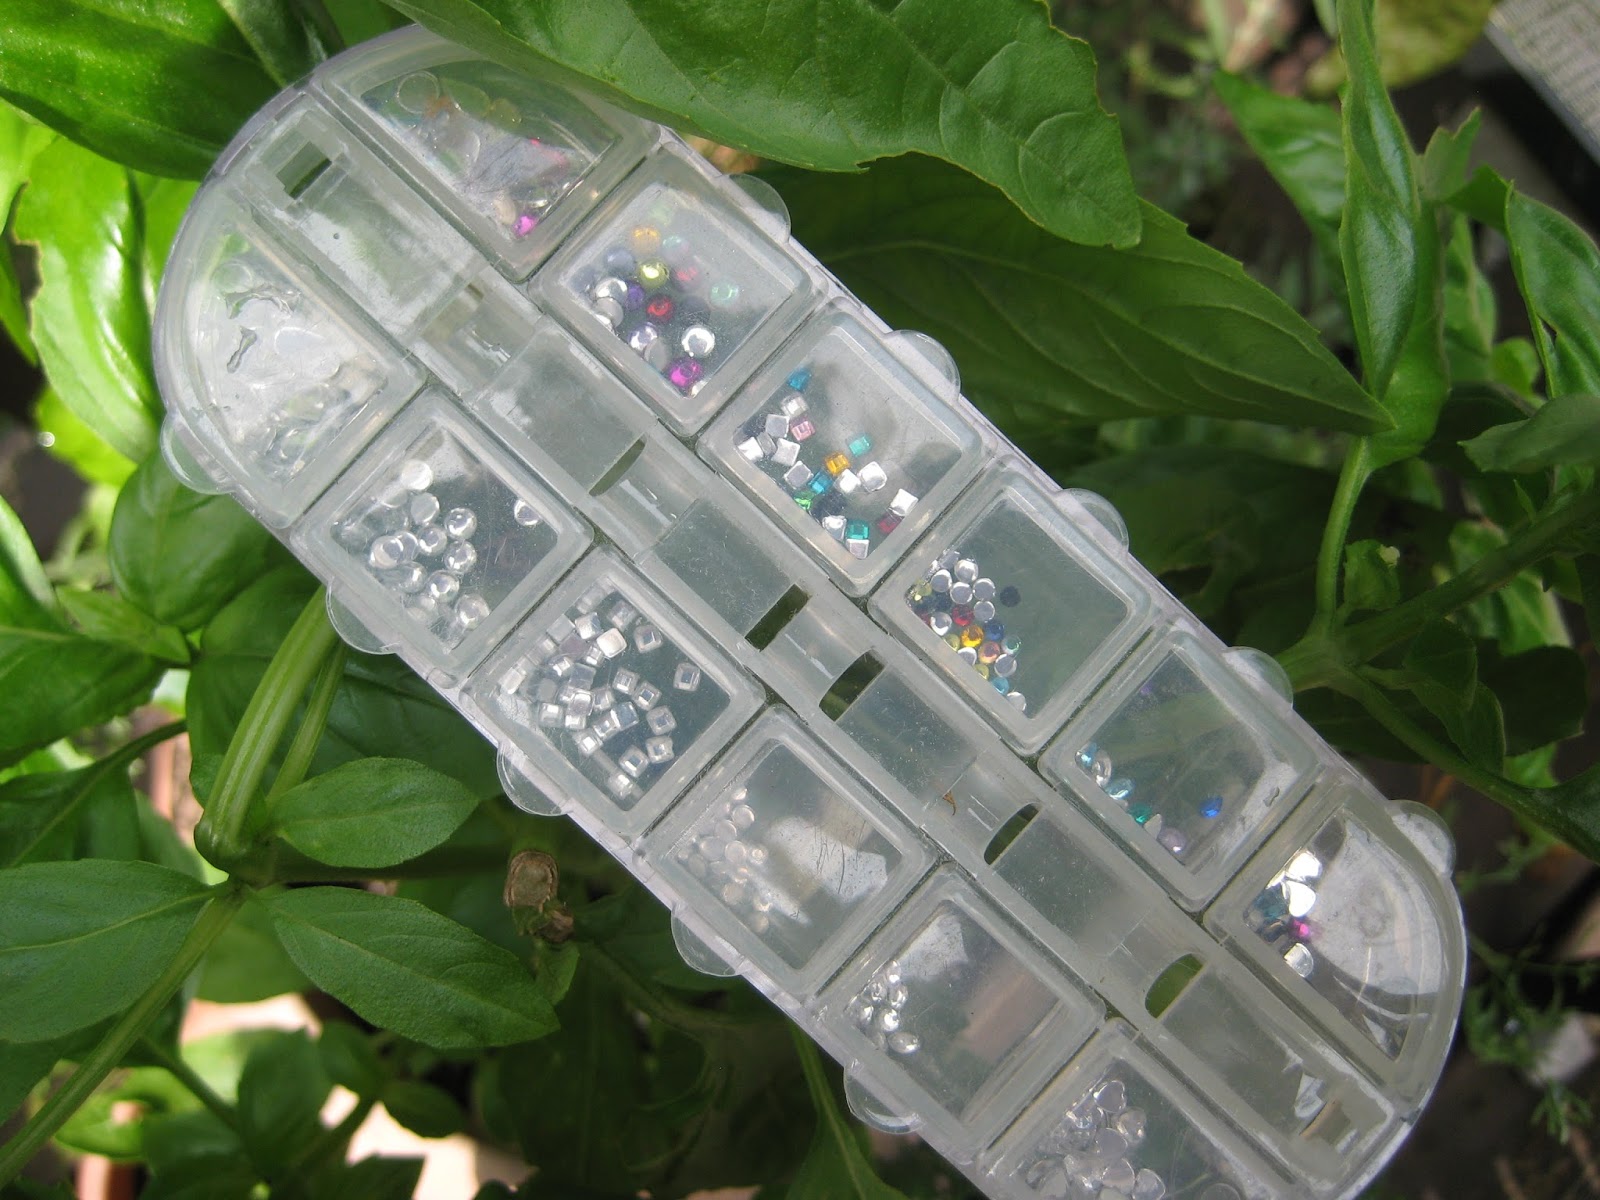
  • Nail jewels
  • Nail glue
  • Tweezers to position jewels
  • Cotton & remover to clean your tools


Nestled in a lovely basil plant


This is a great set of nail jewels. One side is little compartments of clear/diamond-y jewels, and the other side is colourful ones. There are lots of different shapes and sizes to pick from.

This kit is available at Sally Beauty, in store or here.


Nestled in a smaller, but equally lovely basil plant


Another product I had to use today is this: nail polish thinner. If you have been throwing out old, goopy polishes, let me save you now! I put 4 drops of this into about a half-full, pretty thick bottle of Essie, and it came out practically new after a few good shakes.

Some people on the internet say you can do the same thing with nail polish remover, but I really trust very little that people say on the internet (aside from celebrity gossip, of course.)

I think I got this one at Winners, but you can find a couple of other options here at nailpolishcanada.com.


This is the thinned-out, almost like new, Essie Mod Square.
Okay! I think we're ready to go!

Step One: Paint those nails! Don't forget to use base coat along with quick-dry, high-shine top coat, or Santa won't come this year. Also your nails will look dull and the mani won't last very long.

Also, if your top coat's not quick-dry, it will take forever before you can move on Step Two. You will also no doubt have to find your keys or something and wreck it. This is known as Smudgie's Law in the nail polish world.


I bet you can do better than this, no?


Step Two: Using a larger-size dotter, make 5 round dots in a sort-of circle shape where you want the flower to be.

For this mani, I'm doing flowers on both ring fingers, as well as my right thumb.

Because we're going to add dots and jewels, the flowers don't have to be so perfect on this mani. Just do it the best you can. I'm really not a perfectionist. 


Looks mangled right now. I promise it gets better.


Step Three: As soon as you get the dots done, grab your pointiest dotter (or a round toothpick) and drag from the center of each dot into the center of the "flower". This will create the petal effect.


Getting better!


Step Four: Take various sizes of dotters to make larger to smaller dots coming out of the petals of the flower.

I like to aim for a sort-of spiral pattern, but it would probably also look nice if you went with smaller dots in a random pattern.


I prefer the glue with a brush, as I think it's easier to control
and less likely to dry out quickly.


Step Five: It's Jewel Time!

This is my favourite part. I just love nail jewels: picking them out, placing them on, gazing at them endlessly. Love. It.

Anyhoo, put a dab of glue in the centre of your flower, then stick a jewel on it. Make a veritable nest of glue, and you can use the tweezers to press the jewel in and make slight adjustments.


Is this not the definition of nice and shiny? 

Step Six: Top Coat Time!

The white polish will probably still be a bit tacky, so make sure you blob a ton of top coat it on and spread it over the nail with very little pressure. This is essential if you want to avoid streaking your design. If you want your flower to look like it's a speeding cartoon, then by all means apply lots of pressure in the top coat phase.

Once it dries, you can always do another top coat to smooth it out if it's blobby or uneven.

Peekaboo! Top coat on you!

Here are some pictures to compare before and after top coat is applied to the final design. It really does make the mani.

I had a teenager tell me once that she never used top or basecoats, because she didn't want to "waste" her money on polish that is not a colour. 

Teenagers! Crazy, no??


Do you have a favourite flower design? Let me know in the comments!

Thanks for reading!! xoxo


Friday, July 12, 2013

Topbox Review: Remember Gumby? He's back! In nail polish form.

So...have you heard of this recent phenomenon called a "box subscription"? It's that thing where you pay a monthly fee to a marketing company, and they send you a box of assorted items once a month. Ideally, you love the sample products soooo much that you cannot resist purchasing regular-size versions of them from the company's website, thereby providing another revenue stream for the company in question. You can subscribe to such a wide variety of types of boxes, from pet toys or treats, to gourmet cooking items, to beauty samples. Subscription boxes combine your love of small samples with the excitement of getting mail. They will make you feel like somebody really cares.

This is my first month receiving a package from Topbox, a beauty products subscription service. It costs $12/package, and is billed monthly to my credit card. Ostensibly, the products you receive are a stunning value, representing far more than the meagre $12 you invest. This point is debatable at best, which I'll discuss below. Despite my reservations about the actual value of the box I received, I will continue to subscribe for at least a few more months, as it gives me something to blog about. And getting mail makes me feel like somebody really cares.

I would also like to point out that Topbox holds a unique position in the subscription box market. At $12 ($13.56 incl tax), it is one of the cheaper options. Also, the company has a set number of subscribers, so you have to go on a waiting list for about 2 months before you are even allowed to subscribe. I suspect this creates a psychological effect of scarcity and exclusivity for some people, wherein they feel special and privileged to be "accepted" into the Topbox circle. I know I was pretty happy to have made it off the wait list. I am starting to feel like somebody really cares.

I am going to show you what came in my July 2013 Topbox, with approximate values and initial impressions.
You're kinda tiny, Tiny

"This 8[!?] in 1 multi-tasking beauty balm will provide all day hydration while brightening to instantly lift [my] look."

Tried it this morning. Seems okay, not much different than the literally hundreds of other moisturizers beauty balms you can buy.

Full size = $49/50mL
I'm generously guessing this is 2mL?
Sooo...value = $2.04


Imma little scared of this one.
"Thickening sprayable gel/provides up to 70% more volume and heat protection."

Both? or 35% of each? or maybe a 30/40 split? Hmmmm...

Haven't tried this one yet, and I'm kind of terrified what 70% more volume on my head might look like. For once, I'm hoping that the beauty claims are highly exaggerated, which they always are.

Full size = $16.70/200 mL
Value = $2.51


This product should be satirical.

"Pure 24k Gold [sic] flakes as well as Pearl Protein help..." Wait! What?
Effing gold flakes??

Well, that just makes me feel like an a$$hole.

Ugh. Yes, apparently gold and pearl have the little-known and miraculous ability to "stimulate blood flow, build up Amino Acids [sic] and add a healthy glow to the skin for Summer [sic]."

They don't know the difference between proper and common nouns, and they want me to believe that gold will improve my complexion.


If you have 6 minutes and free wi-fi, do check out what David Cross has to say about the gold leaf:

David Cross: Tasteless, Odorless


Full size = $60/60mL
2mL here? Value = $2.00
(Putting gold on your face = priceless)

Okay Mom, I'm ready for my drive to the mall. Moooommmm...let's gooooo!!!
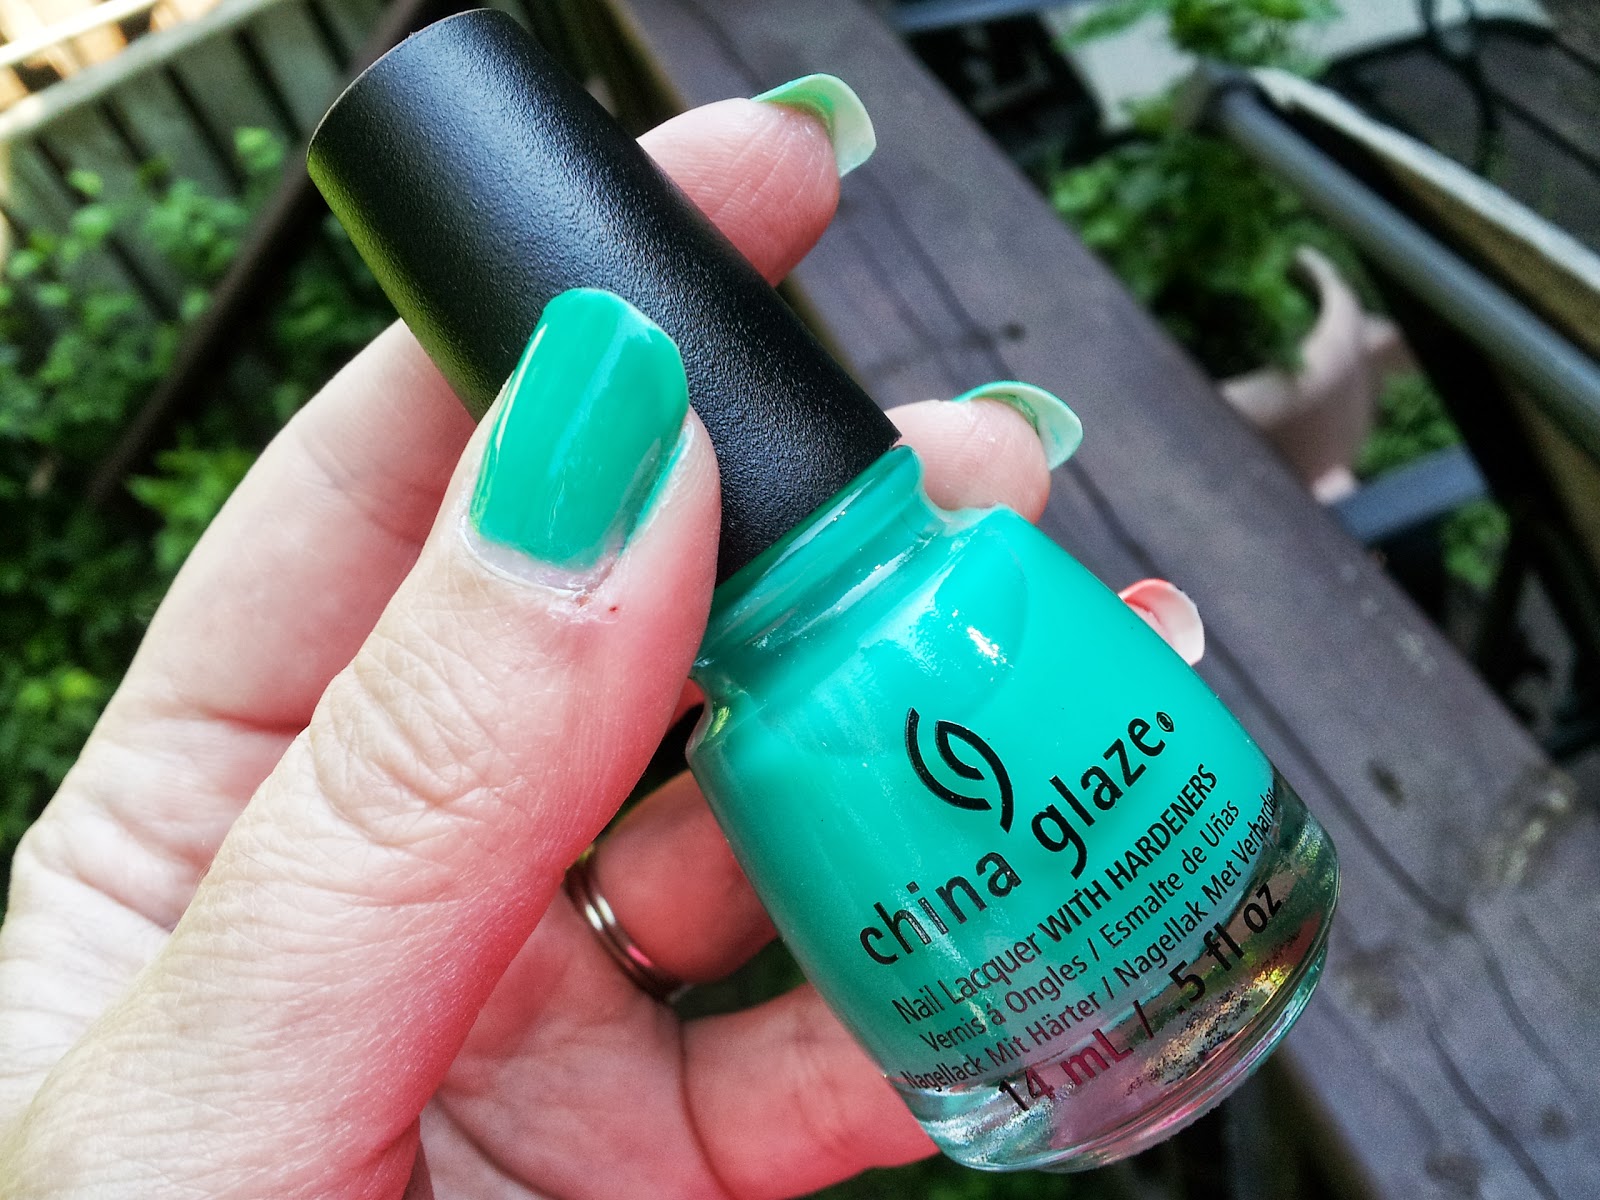
The 4th and final item in my July 2013 Topbox is China Glaze "Keepin it Teal" jelly polish, from their Summer 2013 jelly collection.


Ehhh, it's okay. I googled it, and the polish reviewers are all losing their sh*t about how great it is (maybe girls be pimpin' for some free product?) I'm not a fan of the jelly finish, and this polish is decidedly Gumby-coloured, once you apply the 6 coats needed for opacity. In fact, I decided to put that evaluation to the test, and did a Gumby and Pokey mani:


OMG I used to love Gumby and Pokey so much. <3

If you're going to wear a colour that's fit for tweens, you might as well go all-out cartoon on it, amirite?

Whatevs. I like nail art, so I'll gladly add whatever they send to my nail wall. (Ignoring the little voice in my head that's lecturing about how jellies are too thin for nail art. Shut up, Little Voice. I want to feel like I got a bargain here.)

Ah, Little Voice might be right. The Topbox insert insists that this polish is worth $10-12, (minus some off if you allow for the fact that you didn't get to pick the colour ~10% seems about right), but if you pay that much, YOU ARE BAD AT SHOPPING!

Here it is for $6.95 at the first place I checked.

So...

Real value = $6.95 (Let's be magnanimous and call it $7.98 including tax)

Sooo...

Moisturizer Beauty Balm:                $2.04
Volumizer that scares me:                $2.51
Gold leaf jerk cream:                       $2.00
Gumby tween polish:                       $7.98

TOTAL:                                           $14.53 (I paid $13.56)

Sooo...not bad I guess, but none of these products is an awesome, spectacular deal, and I suspect that the cream samples (or their equivalents) can easily be had for free at Sephora, The Bay, Shoppers, Sears, etc...

I do also like getting mail, so there's that.

I'll keep up with Topbox for a couple of months, but at a yearly cost of $144 ($165.60 incl tax), I am hesitant. I just don't like getting mail that much.

Do you subscribe to any boxes? What are your opinions of them? Let me know in the comments!

Thanks for reading!! xoxo

Saturday, June 29, 2013

Summer Confetti Nails! (Tutorial w/pics)

Today I'm going to do a post that shows how to do a cute, easy and summery dotted manicure. I call it "Confetti Nails" (hopefully for obvious reasons):
This is the finished product! (Taken the last time I did this mani, last summer.)
But first:
Rumour has it that you can even use straight acetone from a
hardware store, but I've never been that desperate...

An important message about nail polish remover:

Acetone is your friend. It is the single most important thing to consider in a remover. If you don't have a good, acetone-based remover, doing your nails will be a painful and heartbreaking chore.

This is a picture of the remover I use, which I love sooo much that I bought a big 5-gallon jug of it, and just refill this little bottle when needed. You can only get it at Sally Beauty, and the big jug is about $27.

I have tried many drug store brands and, for me, they were all crap. If you find nail polish difficult to remove, and/or your fingers are stained afterwards, you are probably using Sally Hansen or Quo from Shoppers, and you are causing yourself a world of unnecessary pain. Good remover makes all the difference. Seriously.


Now for the NAILS!

What you will need:
Obviously, you are free to use whatever the hell colours you want!

  • Orly Au Champagne: a nice pearl-ized white with a bit of shimmer
  • Essie Mod Square (pink)
  • Sally Hansen Lightening (yellow)
  • Essie Bazooka (orange)
  • Seche basecoat
  • Essie Good-to-Go topcoat
  • Dotting tool set
  • Cotton balls and remover to clean dotting tools between uses
  • Wax paper: palette for polishes


If you don't have a dotting tool set yet, be sure to check this out:


$16, ships free within Canada. This site is my  number one place for polish and supplies, can't recommend them enough...

Sorry to anyone whose aesthetic senses are offended by my lack of fastidiousness.


STEP ONE:

Apply quick dry base, then 2 or 3 coats of the Orly.

Note my lack of cuticle concern. Know what my secret to cleaning them is? I DON'T! Just leave it be for 12-24 hours, and you can pick, peel, or let the edges fall off naturally. 


Less is more: a lesson I continue to struggle with.

STEP TWO:

Add pink dots! You should probably do one or two fewer dots of each colour than I did. I would have preferred the final product to be a little less crowded...but I'm not picky enough to go back and redo it.

The secret is to try to control yourself. I have problems with this often. :S


STEP THREE:

Add orange dots. For each colour, I used 3 sizes of dotting tool. I did the big ones first on all 10 fingers, then went back and did the medium ones, followed by the tiny ones last.


STEP FOUR: 

You guessed it! Add yellow dots!!!

Finish it off with 2 coats of a quick-dry topcoat, and you're DONE!


Yeah, so 4 hours after originally posting this to the blog, I realize
that this is actually the same picture that is beside Step 4 up there. :/


TA - DAAAA!!!

...and don't let those messy cuticles get you down, they'll be gone soon enough.

Now get pickin'!


Do you have a favourite manicure tool? Let me know in the comments!

Thanks for reading!! xoxo

Sunday, June 16, 2013

Summer Stripes Nails II

This is my attempt at a stripey-neon mani, first posted by the Sally Beauty Nail Blog found here:

Sally Beauty Blog

It came out a little messier than I'd really like, but you only notice that in close-up, like for pictures on blogs etc. (Ugh.) Just looking at them from a foot or two away, it looks pretty cool.


This is a pretty easy mani. The hardest part about it was putting the watermark on the pic. I will get better at that, hopefully. I am just not that much of a perfectionist to go back and re-watermark an original copy. I think it looks okay, right?

Here are the steps to achieve this look:

1. Base coat (I like Seche Vite Base).
2. Paint each nail to opaque with a variety of fun colours: remember that neons can sometimes take up to 4 coats to get rid of that pesky white nail line! *hint: do not go right to the cuticle or edge with these colours, or they might show through after you put the white coat on.
3. Top coat! I like Sally Hansen Good-to-Go for mid-mani top-coats: it is thin and dries super-fast.
4. After about an hour, once you've let that top coat get good and hard, get out your striping tape! Using sharp scissors to cut and tweezers for positioning, lay the tape in a design you like over the first nail.
5. Once the tape is positioned, use a nice thick white polish to cover up the nail and tape. Make sure the white is thick enough so you don't see the colour beneath it.
6. Using your trusty tweezers, quickly remove the tape at a 90 degree angle to your nail. Fast and smooth and straight up, while the white is still fresh and wet.
7. Carefully move on and do the same for each remaining nail. Plop on a big ol' layer of Seche Vite or Poshe quick-dry top coat, being careful not to put too much pressure and smudge the white. (I waited ~ 30 minutes between hands to avoid ruining the one I did first.)
8. Do one more top coat if you want your nails to feel smooth instead of lumpy! If you like lumpy nails, that's your thing, I guess. Personally, lumpy nails are my nails on a chalkboard. *ick*

* Aesthetic consideration: I made all the stripes diagonal, and tried to focus/anchor them on the top 1/3 of the nail bed. Hopefully this creates some level of continuity in an otherwise varied design.

What's on your nails this week? Let me know in the comments!

Thanks for reading!! xoxo