Showing posts with label flowers. Show all posts

Thursday, August 8, 2013

Easy Summer Flower Mani!

Ahhhh, summer! So many lazy days to fill by doing seasonal-themed manicures!! Flowers are my fave, and today's blog post will show how to do an easy, summery, Hawaiian-y flower design.

"Let's Talk Dirty in Hawaiian" by Those Darlins Feel free to listen to the mood music if it suits ya!

To start, you will need the following:

  • Base coat
  • Quick-dry top coat
  • Bright colour polish (I used Essie Mod Square)
  • White polish
  • Dotting tools
  • Nail jewels
  • Nail glue
  • Tweezers to position jewels
  • Cotton & remover to clean your tools


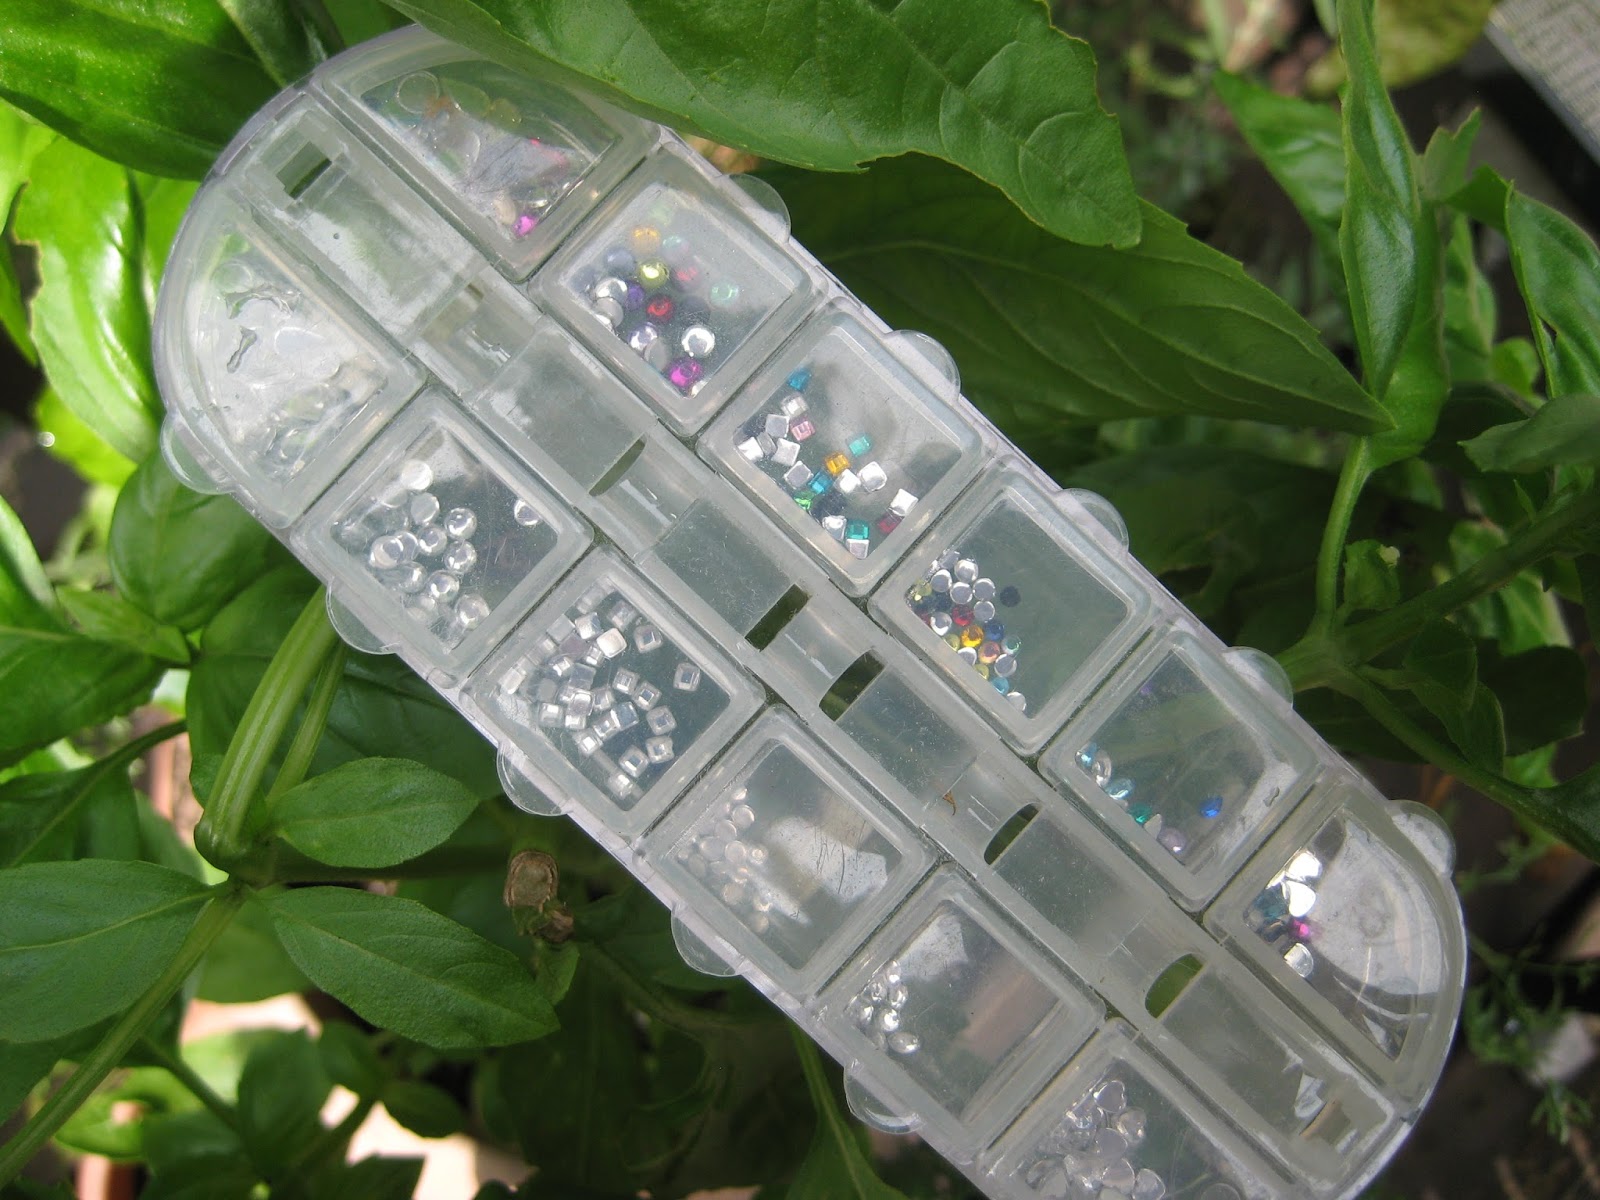
Nestled in a lovely basil plant


This is a great set of nail jewels. One side is little compartments of clear/diamond-y jewels, and the other side is colourful ones. There are lots of different shapes and sizes to pick from.

This kit is available at Sally Beauty, in store or here.


Nestled in a smaller, but equally lovely basil plant


Another product I had to use today is this: nail polish thinner. If you have been throwing out old, goopy polishes, let me save you now! I put 4 drops of this into about a half-full, pretty thick bottle of Essie, and it came out practically new after a few good shakes.

Some people on the internet say you can do the same thing with nail polish remover, but I really trust very little that people say on the internet (aside from celebrity gossip, of course.)

I think I got this one at Winners, but you can find a couple of other options here at nailpolishcanada.com.


This is the thinned-out, almost like new, Essie Mod Square.
Okay! I think we're ready to go!

Step One: Paint those nails! Don't forget to use base coat along with quick-dry, high-shine top coat, or Santa won't come this year. Also your nails will look dull and the mani won't last very long.

Also, if your top coat's not quick-dry, it will take forever before you can move on Step Two. You will also no doubt have to find your keys or something and wreck it. This is known as Smudgie's Law in the nail polish world.


I bet you can do better than this, no?


Step Two: Using a larger-size dotter, make 5 round dots in a sort-of circle shape where you want the flower to be.

For this mani, I'm doing flowers on both ring fingers, as well as my right thumb.

Because we're going to add dots and jewels, the flowers don't have to be so perfect on this mani. Just do it the best you can. I'm really not a perfectionist. 


Looks mangled right now. I promise it gets better.


Step Three: As soon as you get the dots done, grab your pointiest dotter (or a round toothpick) and drag from the center of each dot into the center of the "flower". This will create the petal effect.


Getting better!


Step Four: Take various sizes of dotters to make larger to smaller dots coming out of the petals of the flower.

I like to aim for a sort-of spiral pattern, but it would probably also look nice if you went with smaller dots in a random pattern.


I prefer the glue with a brush, as I think it's easier to control
and less likely to dry out quickly.


Step Five: It's Jewel Time!

This is my favourite part. I just love nail jewels: picking them out, placing them on, gazing at them endlessly. Love. It.

Anyhoo, put a dab of glue in the centre of your flower, then stick a jewel on it. Make a veritable nest of glue, and you can use the tweezers to press the jewel in and make slight adjustments.


Is this not the definition of nice and shiny? 

Step Six: Top Coat Time!

The white polish will probably still be a bit tacky, so make sure you blob a ton of top coat it on and spread it over the nail with very little pressure. This is essential if you want to avoid streaking your design. If you want your flower to look like it's a speeding cartoon, then by all means apply lots of pressure in the top coat phase.

Once it dries, you can always do another top coat to smooth it out if it's blobby or uneven.

Peekaboo! Top coat on you!

Here are some pictures to compare before and after top coat is applied to the final design. It really does make the mani.

I had a teenager tell me once that she never used top or basecoats, because she didn't want to "waste" her money on polish that is not a colour. 

Teenagers! Crazy, no??


Do you have a favourite flower design? Let me know in the comments!

Thanks for reading!! xoxo


Tuesday, June 18, 2013

Deck Planters: Then and Now w/pics

Deck Planters - 6-week Update w/pics

Okay! Today I want to do a blog where I compare what my plants and flowers look like now, as compared to when I put them in on Saturday, May 4, a mere 6 1/2 weeks ago. I just love to look at then-and-now pics, especially when the then is so close to the now, and the results are sooo drastic!

Heeman's: The best nursery and strawberry farm!

We had a really early run of super-nice weather, so Dyl and I took a trip out to Heeman's, and spent about $60 for our annual plants and flowers. Usually I wouldn't plant them till closer to the end of May, and there were 4 nights when I had to haul them inside so the frost would not bite. Anyway, let's start on the downstairs deck:

NB: I forgot how to watermark, despite the fact that I did it like 3 days ago! Ugh. I just spent about half an hour trying to figure it out again, but I can't find the helpful web page I used before. :(  If anybody knows of a way to save a watermark, and easily click it onto each photo, using any app that runs on Chrome, PLEASE fill me in via the comments...I am LAZY, don't like to have to do each photo on its own. [Infomercial voice] There's *got* to be a better way! Let's be honest, though: NOBODY is stealing my plant pics. I can deal with that.

First up: SAGE!


This is what it looked like when I planted it. I've learned that even though things look sparse, if you overplant they will eventually explode and look disgusting.


And here it is today! Healthy and pretty (just like Rocky). It looks like it won't overspill the planter, unlike some of its compadres, which I will post below...


Secondly, my favourite herb planter!


My friend Valorie gave me this planter. I have no idea where to get one, so please stop asking. Valorie retired a couple of years ago, and she is a true gardening wizard (no, that doesn't mean she works at Garden Hogwarts, but I wish...)

Here it is today!! The basil on top seems healthy, despite a touch-and-go period when I made it stay outside on a frost warning evening. You can see that the cilantro, so tiny in the lower right-side well above, is making a play for planter-world dominance. It might have a pretty good chance, too, except that Dylan is a cilantro-phile, and is raiding it nightly.


Okay, I'm going to play around with some collage apps for the next few. Sorry for the inconsistency in design. Let's just say the blog is still in Beta, so I can get away with this. Someday I might find it embarrassing...

Valorie loves to order me fancy plants from the internet! Did I mention she's the best former-boss ever? This is a Lesbos Basil that she gave me 2 years ago. It stays out all summer, then comes onto the kitchen window sill for the winter. I can make new basils from it by cutting bits off and putting them in water til they sprout roots. I made a baby from it that is featured below.

This poor sucker got caught outside during a storm, and started growing sideways for some reason. Its will to live is extraordinary, I guess, cause those leaves are coming in bright and robust.

MMMmmmmm...I've been up here on the deck for almost 2 hours! Getting a little drunk off these white wine spritzers...


Basil and Cilantro are Friends!

On the left is the baby basil that I made from the original above. It actually seems to be in better health than its mom. Guess I neglected to get an early pic of these two crazy pals, but they are almost my favourite herbs on the deck, so they still get a pic!


I don't know what kind of flowers these are, but look how pretty they growed up! I like that they're all different colours, but also all pretty colours, no effing beige ones. Those are the worst.


The next batch is various planters on the upstairs deck, where the sun shines hot allllll day! These are all decorative annuals, but effed if I know what any of them actually are:


These ones I always over-plant. They just look so sparse and lonely at first! BUT... they turn into...


Whoa! Look how big they got!!!

I sure hope they don't gain sentience before the frost sets in!


I've saved my two favourites for last.


These are peppers and tomatoes. Look how small and cute they are!


Not quite as small, but still pretty cute 48 days later!


Tons of flowers and fruit coming in, too...


This planter is my favourite. I always give it the nicest, sunniest spot, on the prettiest part of the deck, with the best view of the ravine. I put the healthiest specimens of tomatoes in it, and...


...it just grows and grows and grows...tons of tomatoes, lots of love to share.

This one is sucking up a ton of water each night, too, probably about a liter+ every day.


Well, that's my garden blog entry! What are you planting this year, and how is it growing so far? Let me know in the comments!

Thanks for reading!! xoxo